LG asked if I would try and help with the mini-map. Here's something I threw together this morning...

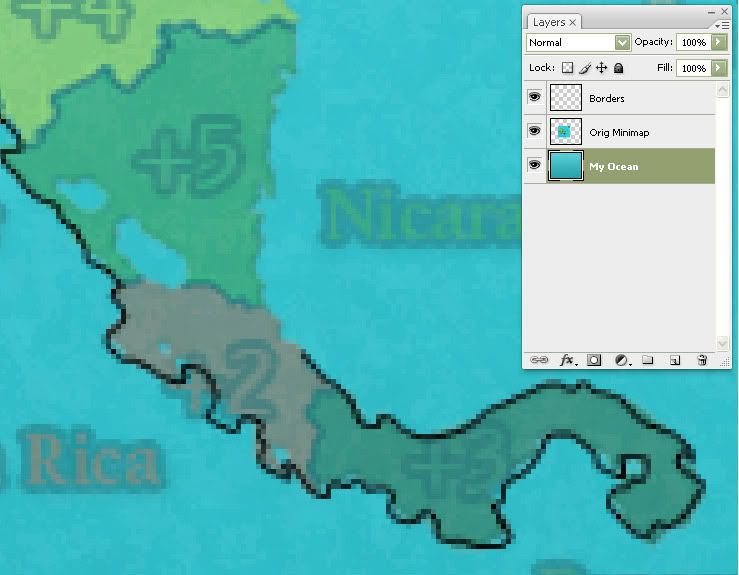
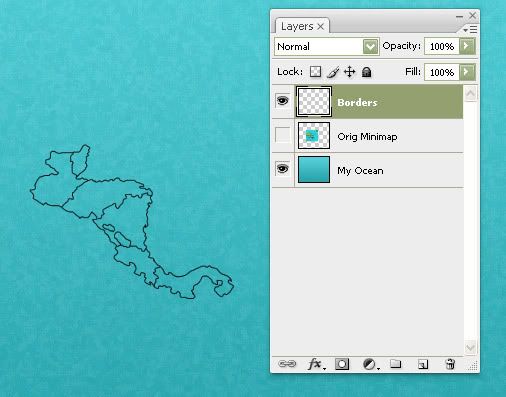
I start with a 1-pixel black round hard brush. Have the satellite map graphic on it’s own bottom layer. Zoom in a good bit and start tracing the borders. The “curviness” of the coastline is your call.
I’ve lowered the opacity of the base maps layer to about 35% - enough so I can see the image, but my new borders will stand out more.
I use a standard mouse. Try to move it your arm/wrist smoothly when tracing.
Also in Photoshop, you can move the canvas by holding the spacebar and moving your mouse. It helps when you’re zoomed in real close.
- Click image to enlarge.
- Click image to enlarge.
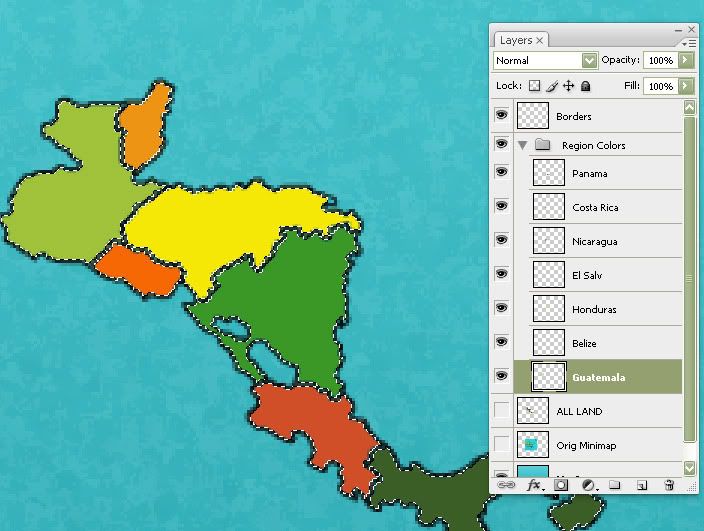
Next I’ll start a new layer for each of the bonus regions colors. You can either use a paint brush to color the regions, or the magic wand selection tool. I used the magic wand for this example. You can use the eye-dropper tool to match the big maps colors, or if you have a color pallet made, use that.
- Click image to enlarge.

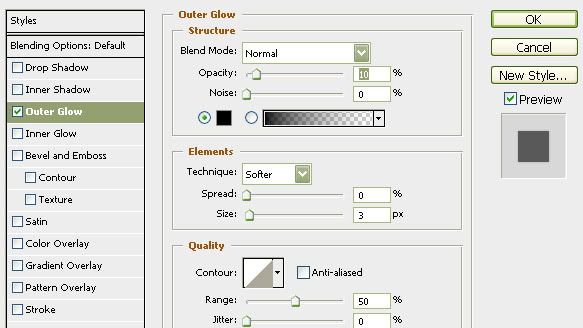
Now I have all my regions colored and on separate layers. I’m now going to ctrl-shift select all those layers so I end up with all the lands selected (First image below, before expanding by 1-pixel). Then I will go to Select > Modify > Expand by 1 pixel. It may be under a different drop-down menu, but you should find "expand" somewhere under the select menu. I will make a new layer and call it ALL LAND. I will fill this with a dark green. This layer is underneath the other color layers. I also add a very slight outer glow to this layer. This will give a well defined coast line and help the map stand out from the oceans.
- Click image to enlarge.
- Click image to enlarge.
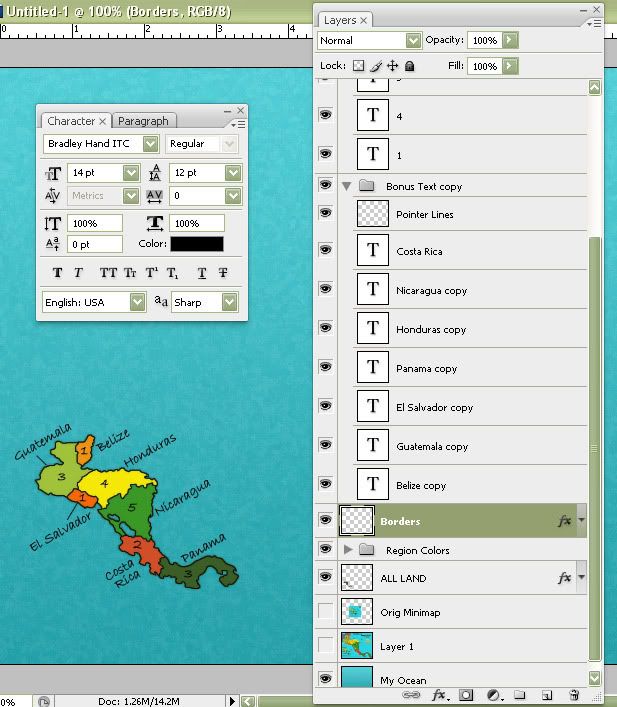
That gives you your land. Next just play around with the font until you’re happy. I normally like crisp black text. I found it hard to position the text horizontally, so I tilted it all and liked how it looked.
- Click image to enlarge.


